
Making Apple Cider at Home
By Thomas P. Caldwell
Commercial hard cider is now appearing in the Lakes Region, with Hermit Woods Winery, at 72 Main Street, Meredith, offering its Hermit Hard Apple Cider, Crabapple Hard Cider, Hard Blueberry Cider, and Hard Cranberry Apple Cider (hermitwoods.com/cider/). Crucial 10 Craft Cider (crucial10craftcider.com/) at 2913 US-3, Thornton, also produces cider on-site and offers it in its taproom and outdoor cider garden.
Making authentic apple cider at home is another option, and doing so is easier than one might think. It ensures you will have a refreshing drink in the summer, and it can be used for mulled cider and casseroles during the winter.
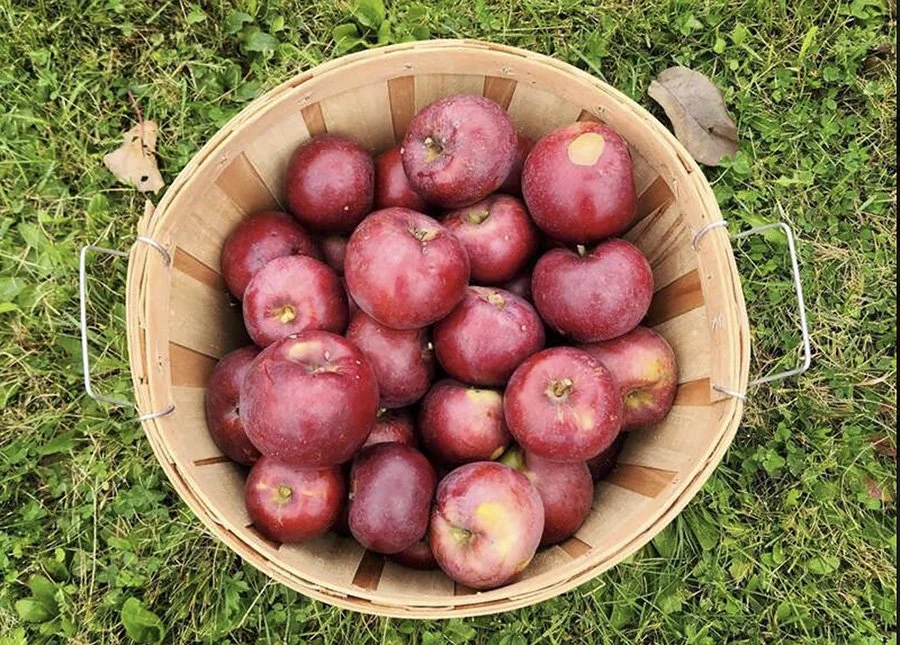
Sweet cider is easiest to make because it is not fermented, so it can be drunk immediately or refrigerated for a short period. To determine what apples to use, a simple test is to use those you like to eat. They generally are sweeter than other apples; however, almost any apple can be made into cider. Tannic apples, however, are generally not used for sweet cider.
Hard cider is best made with a combination of tannic, low-tannin/low-acid, and acidic apples. Instead of relying on a single tree, mixing roughly 70 percent dessert apples and 30 percent cooking apples will provide the perfect equilibrium of natural sugar and acid.
Whether sweet or hard cider is the goal, a blend of apple varieties will enhance the flavor. A rule-of-thumb is that it will take 20 - 30 pounds of apples to produce one gallon of the pure juice that will become cider.
It is a good idea to scrub the apples with a vegetable brush and use some distilled white vinegar in the water. Be sure to pick out any bad apples, and cut out minor holes or spots. Do not use any apples that have started to rot, or any apples that have dropped from the tree, to avoid bacteria or a fungal infection. However, apples that drop while you are harvesting them are safe to use as long as they are processed soon afterward.
Besides the apples, cider-makers will need at a minimum a food-processor or apple-crusher, a cleaner/sterilizer, a knife and chopping board, a sieve, a funnel, and a nylon or muslin mesh bag for straining and pressing. It is not necessary to invest in a cider or fruit press unless making large batches to perhaps sell at a farmers’ market.
For making hard cider, it will also be necessary to have Campden tablets, which prevent oxidation, purge chlorine, and sanitize equipment. Also necessary are a fermentation vessel, such as a food-grade bucket or a classic 4.5-litre demijohn; cider yeast (or wine/beer yeast); a high-quality yeast nutrient to support a clean fermentation process; and an airlock, bottles (beer bottles work fine) and caps. Optionally, add granulated sugar or brown sugar and/or a hydrometer to measure the sugar content in order to calculate the potential alcohol content.
To avoid the need to crush the apples and extract the juice yourself, there is the option of paying an orchard to press them, but that can be pricey — but less expensive than purchasing an apple press.
It is important to clean and sterilize any equipment that will come into contact with the cider because fermenting liquids are ideal breeding grounds for bacteria. Dish soap can be used, as long as it is rinsed off with hot water, but spraying the equipment with potassium metabisulfite after cleaning is recommended as well. When making fresh cider, the metabisulfite must be rinsed off, but that is not necessary for hard cider.
Instead of using an apple grinder or press, chopped apples can be placed in a food processor to grind them and extract the juice. Another way to avoid grinding apples is to pre-freeze them to break down the cell walls so they release the juice as they thaw. It still may be a good idea to put them through a grinder, but it is much easier with previously frozen apples because, once thawed, they become mushy.
Place the crushed apples into a mesh bag and hang it to let the juice drip out. Manually squeeze out extra juice at the end, or use a press.
Unpasteurized cider can become contaminated with bacteria, so pasteurizing it will ensure that it is safe for the very young, the very old, or anyone who is immunocompromised.
To pasteurize cider, heat it to 160 - 185°F for at least a minute. If planning to store the cider in glass jars, be careful pouring in the hot cider to avoid having thermal shock shatter the jars. Warming the jars before transferring the liquid can lessen that risk.
Pasteurized cider can be stored in a refrigerator for up to one week, while unpasteurized cider should be consumed within a day or two.
That is, unless the goal is to make hard cider. In that case, pour the apple juice into the bucket or demijohn, filling it to just below the “shoulders” of the demijohn to prevent too small a gap that could cause an overflow or too large a gap, that leaves room for too much oxygen, which could spoil the cider. If there is not enough juice, top it off with fresh, store-bought apple juice or boiled water that has been allowed to cool.
Stir in one crushed Campden tablet per gallon, dissolved in a small cup of warm water. Adding a small amount of ascorbic acid (Vitamin C) will help to balance out low-acid juices and prevent oxidation, preserving the cider’s color. Cover it with a clean tea towel or cheesecloth to keep fruit flies out, and store it in a warm place for 24 hours.
At the end of 24 hours, sprinkle a packet of a dedicated cider yeast over the surface and swirl it around again. Cider yeast provides more reliable fermentation than wild yeast or bread yeast. Adding a small amount of yeast nutrient ensures that the yeast will stay healthy and strong.
Fit an airlock on the fermentation vessel and pour some cold water into the airlock before putting in a stopper with a hole and pushing it through the airlock. Cap the top of the airlock and place the container in a dark space where the temperature will consistently remain between 54 and 81°F. Fermenting will start more quickly in a warm space.
Fermentation can take a few weeks to complete. When the bubbling stops, primary fermentation has ended, and the cider can be transferred to a clean container to separate it from dead yeast sediment. Cider that has aged at least one to three months will have a better flavor. For a sparkling cider, it should have a secondary fermentation period in a bottle.
Before bottling the cider, sterilize pressure-rated bottles that will withstand the fermentation process. Be sure to leave headspace when bottling, and seal the bottles to prevent the loss of carbonation. A small dose of sugar during the bottling process will ensure a nice sparkle, and brown sugar can add a rich molasses undertone.
The longer the cider remains on the shelf, the better it gets, but you will find that it is hard to wait too long.
Some of the information in this article came from Two Ponds Farm (www.twopondsfarm.net/blog/how-to-make-sweet-apple-cider), Do It At Home (www.doitathome.co.uk/en/how-to-make-cider-at-home-a-simple-guide-for-beginners.htm), and Almost Off Grid (www.almostoffgrid.com/blogs/almost-off-grid/a-beginners-guide-to-making-cider-from-apples).